Understanding Mortises & Tenons in Woodworking
A mortise
is a precisely cut hole in a piece of wood, designed to fit a corresponding
tenon
from another piece of wood, creating a strong joint called a
mortise and tenon
- essentially, you would use a mortise to securely connect two
pieces of wood together, especially when you need a strong, visually appealing joint, like
in furniture construction.
Some Key points about mortises include function, strength, and application.
Important aspects include
Function:
When we build, let us think that we build for ever.- John Ruskin, Front Porch Republic
The mortise acts as a socket that receives the tenon, which is the protruding piece of wood that fits into the hole.
Strength:
Never half-ass two things, whole-ass one thing.- Ron Swanson, Goodreads
Mortise and tenon joints are considered one of the strongest wood joinery methods due to their interlocking design.
Common applications:
This joint is frequently used in making furniture like chairs, tables, and doors, where stability and a clean aesthetic are important.
How To Cut a Mortise
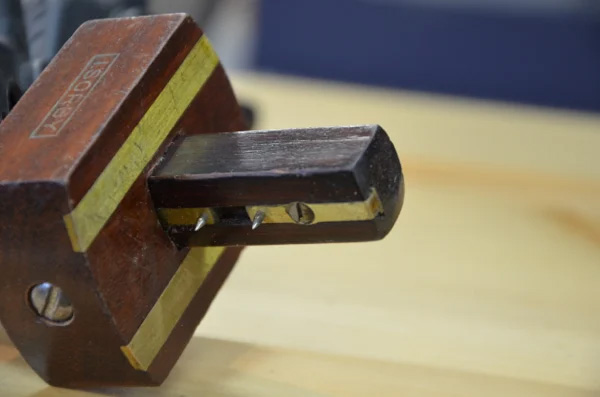
To cut a mortise, first accurately mark the mortise location and dimensions on the wood using a combination square and mortise gauge, then use a chisel and mallet to carefully remove the wood within the marked lines.
A Visual Demonstration:
Step By Step:
1. Layout and Mark the Mortise:
- Position the workpiece: Secure the board where you want the mortise to be cut on your workbench.
-
Measure and mark:
- Use a combination square to mark the exact location and width of the mortise on the edge of the board.
- Set your mortise gauge to the desired depth of the mortise and scribe lines along the edge of the board to mark the mortise thickness.
- Square the lines across the board using a combination square to ensure straight edges.
2. Pre-Drilling (Optional):
Deep mortises: For deep mortises, use a large drill bit to drill a series of holes along the marked mortise area, ensuring the holes are close enough to almost connect.
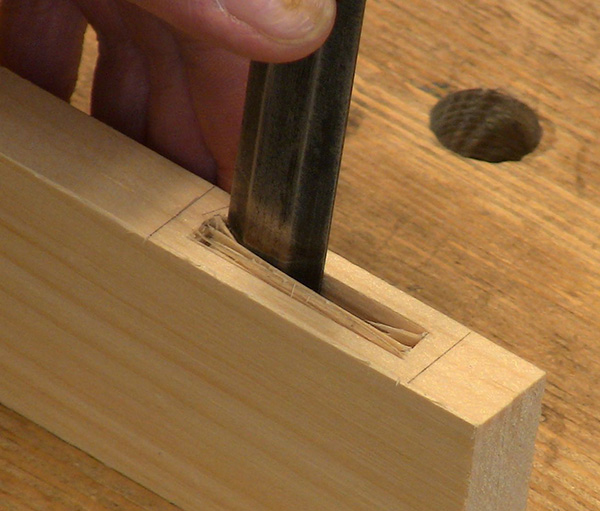
3. Chiseling the Mortise:
-
Initial cuts:
With a sharp chisel, make deep cuts along the marked lines on the edges of the mortise,
creating a
V
shape. Be careful not to chisel too deeply at the edges to prevent splintering. - Removing the center: Gradually work your way towards the center of the mortise, using a series of shallow cuts to remove the wood in layers. Use a mallet to strike the chisel for more force when needed, ensuring the chisel is positioned at a proper angle.
- Cleaning up: Once the majority of the wood is removed, use a sharp chisel to refine the edges of the mortise, ensuring it is square and smooth.
Important Considerations:
- Sharp tools: Always use sharp chisels to prevent splintering and ensure clean cuts.
- Work with grain: When chiseling, work with the wood grain to avoid tear-out.
- Test fit: Regularly check the fit of the mortise with the tenon by dry fitting the joint before final assembly.
Best Woods for Mortise & Tenon Joints
Not all woods are created equal. Hardwoods generally provide stronger joints than softwoods. Here is a comparison of common woods used in joinery.
| Wood Species | Type | Janka Hardness (lbf) | Workability |
|---|---|---|---|
| White Oak | Hardwood | 1,360 | Moderate (Can dull tools) |
| Walnut | Hardwood | 1,010 | Excellent |
| Cherry | Hardwood | 995 | Good (Burns easily) |
| Pine (Eastern White) | Softwood | 380 | Easy (Very soft) |
| Note: Janka Hardness measures the resistance of wood to denting and wear. | |||
Have a Question?
If you are struggling with your mortises or have a question about joinery, fill out the form below.